Learning how to create simple models with Blender that you can actually use for game development might seem impossible to a lot of people, especially to programmers who don’t feel like they are artistically inclined. However, after +50h of practice, I found myself having the confidence to create simple game assets myself. Here is how I got started.
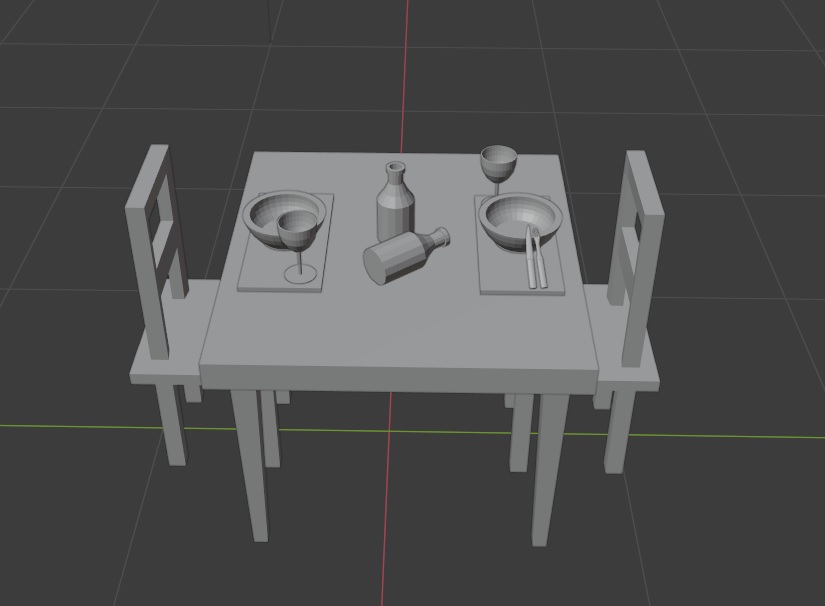
I stumbled upon a couple of very interesting Blender tutorials by Grant Abbitt on Youtube. He teaches very simple techniques for absolute beginners and his videos feel more or less like a mixture between painting tutorials a la Bob Ross and Lego instructions. These Beginner Exercises are very easy to follow but often ask you to try things out for yourself first before continuing with detailed commentary.

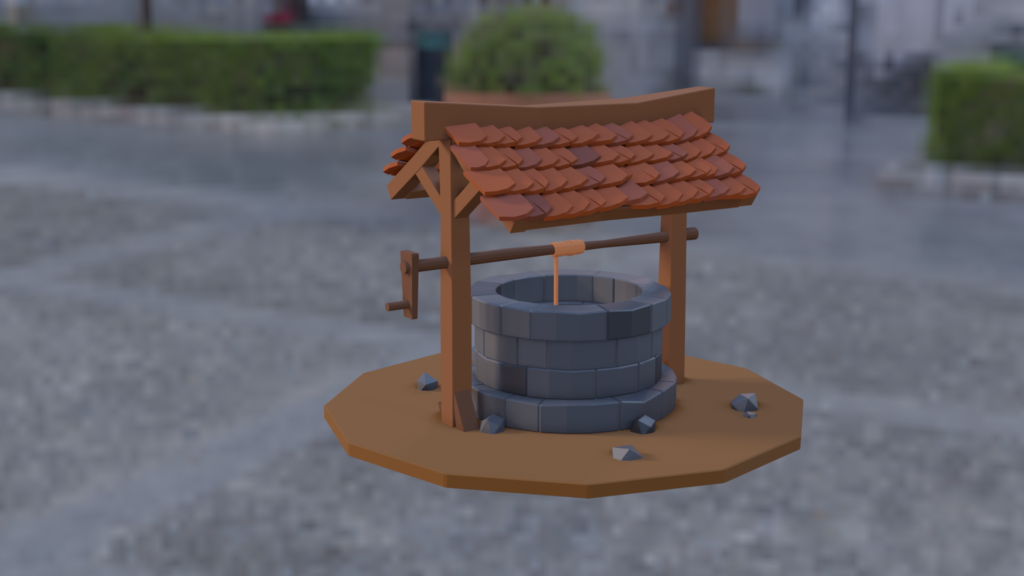
After finishing the first four beginner exercises, I started to look into creating an actually usable asset. This is when I jumped to the Low Poly Well Tutorial. This tutorial consists of three parts and yielded a very decent result. I especially liked how this tutorial challenged you to create some of the easier stuff yourself. This gets you into the right mindset by forcing you to think and plan ahead when modeling.
After finishing the well tutorial, I wanted to move on to something bigger – something that I could export to Unreal Engine, something I could animate and show off. I wanted to create a product that people would like and enjoy. The ideal guide to support that goal was the Sea Shack Tutorial. The tutorial consists of twelve parts but the actual geometry was modelled in the first six. The construction of the shack is briefly explained but you are left on your own after modeling the lower platform. The creation of twelve easy objects in the scene is skipped too. However, the shack and the other minor models should be pretty easy to recreate with the previous tutorials in mind.
Getting Your Assets Game Ready
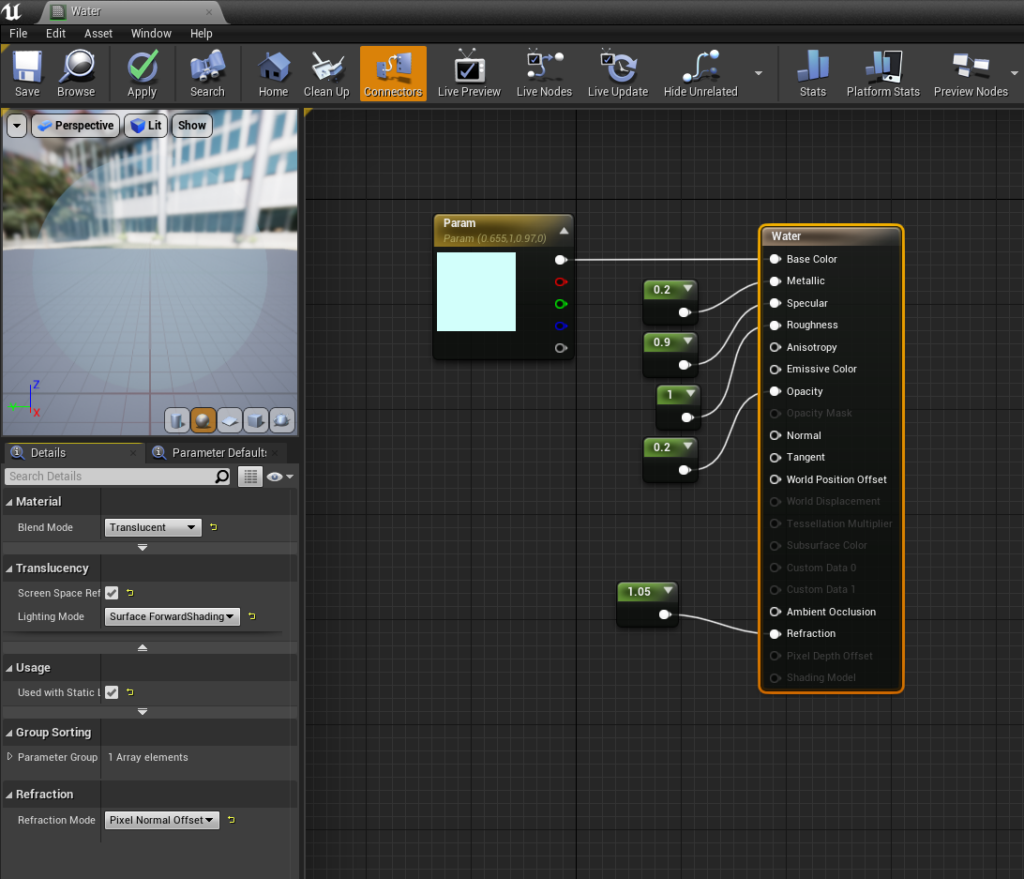
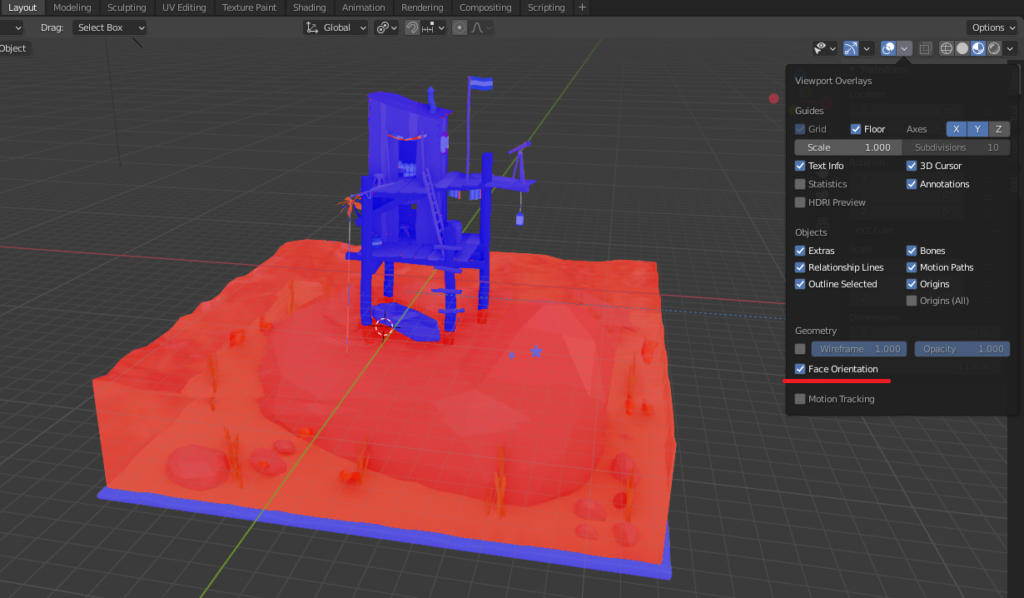
In order to make the assets available in Unreal Editor I had to export the scene as an FBX file that can be easily imported. Joining all elements of the scene together enables you to easily transfer the whole scene layout as a single static mesh to Unreal Editor. Make sure to name all the materials you are using because those names are used to create material assets in Unreal Editor during import. Most material assets need at least a little tuning when it comes to shininess. Cloth materials require back-face culling to be deactivated as both sides of the mesh need to be rendered. The recreation of the water material needs most of your attention though.
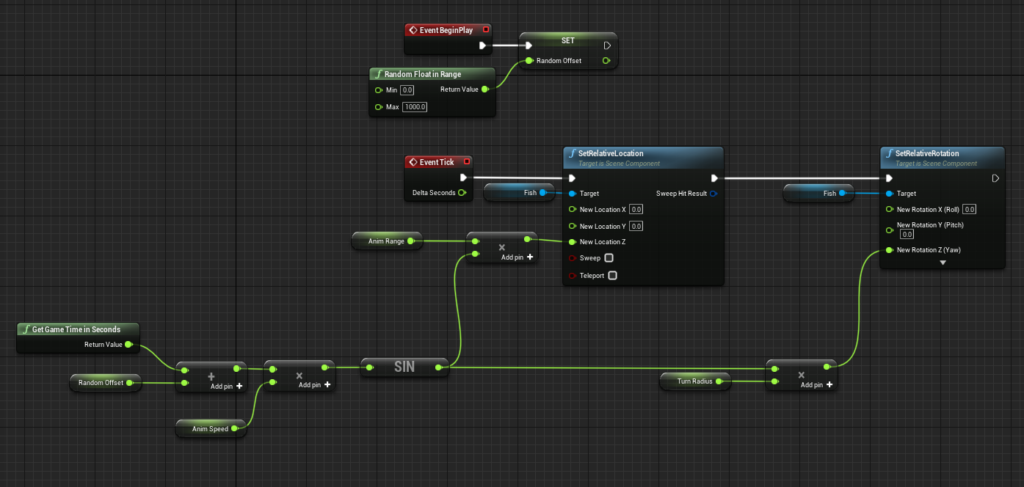
After the initial import of the scene with all components joined together I removed the fish meshes from the Blender scene and exported a single fish mesh separately. I wrapped the fish mesh in a fish actor that is animated via Blueprints. The fish actor was then placed, scaled and rotated multiple times to replace all previously existing meshes. You need to do this for every additional element like the seaweed or the flag that you want to see animated.
While I’m personally really happy with the result I do think that the scene and I might benefit from additional optimization:
- This little animation currently requires 30 single color materials. This number could be vastly reduced by mapping a texture onto the mesh.
- The walls of the shack consist of multiple individual boards. The number of vertices could be reduced by using a single simplified mesh and a normal map.
- Bones and Rigging could be utilized to improve the fish animation.
Hope that helps.
0 Comments
1 Pingback