Have you ever wondered how to make a video game asset from start to finish? This tutorial covers the creation of fully destructible crates using only the freely available tools Blender, Krita, and Unreal Engine.
Step 1 – Make a Crate With Blender
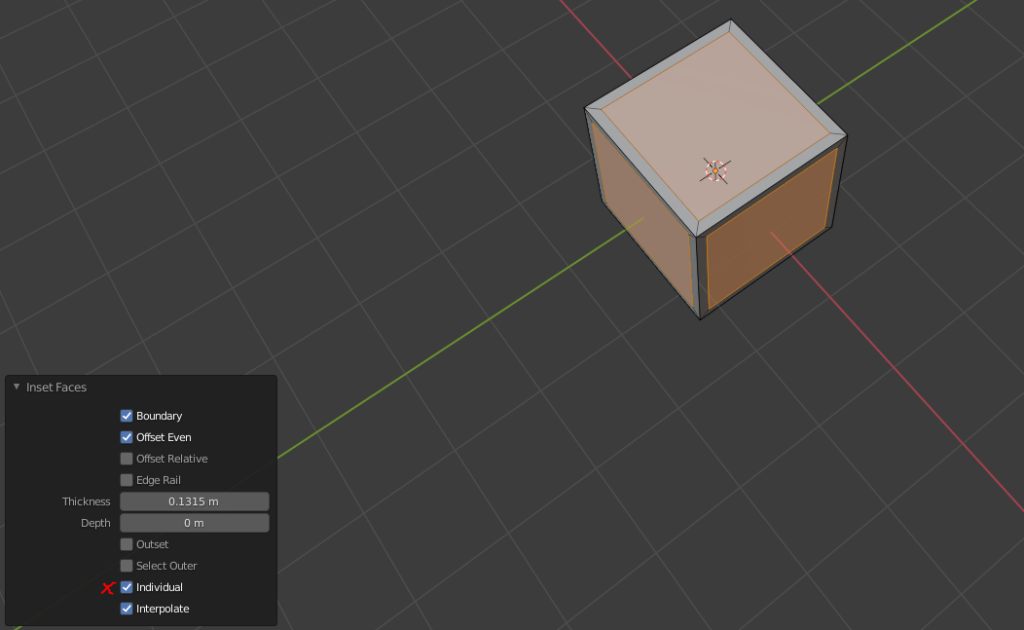
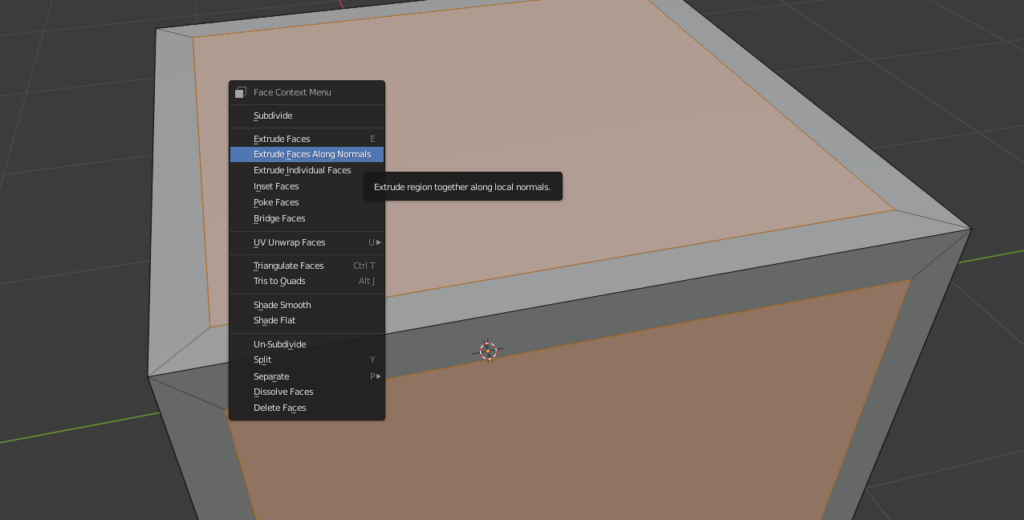
We start by creating the crate mesh in Blender. We do this by slightly insetting all 6 faces of a cube. The new faces in the center of each side have to be slightly extruded inwards after that.
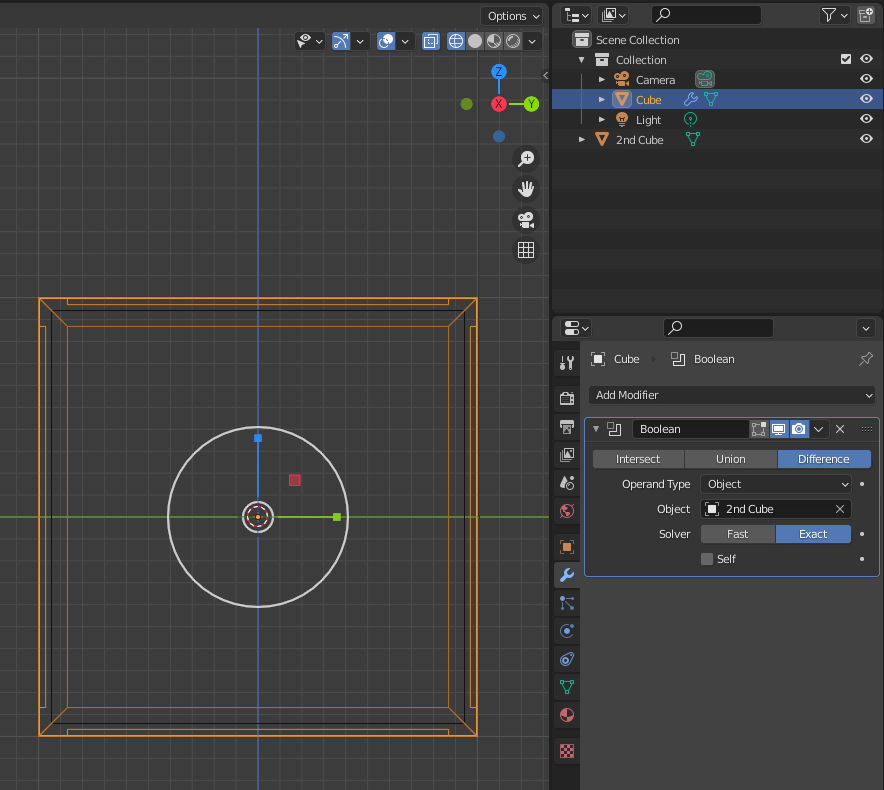
The crate has be hollow to support the destruction effects within Unreal Engine. Therefore we create a 2nd cube and move it inside our crate. The cube has to be scaled down to be slightly smaller than our crate. We can then use a Boolean modifier to remove the insides of the crate.
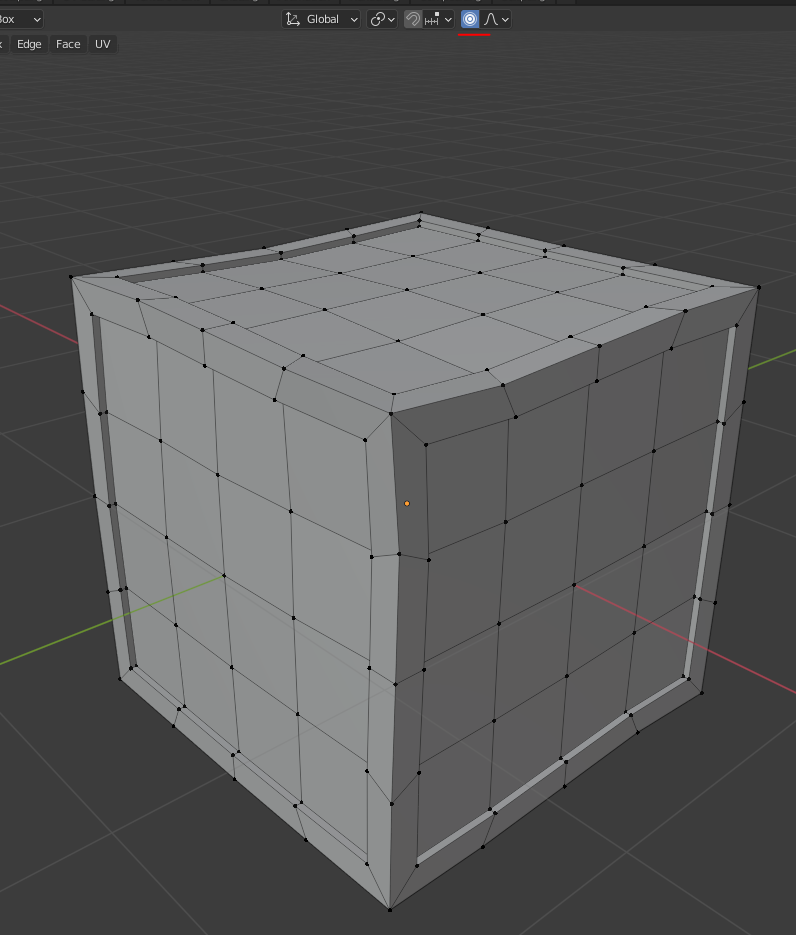
Uniform meshes can look pretty boring. I recommend you to add imperfections to the mesh by creating a couple of loop cuts and moving some vertices around using proportional editing. This gives the mesh a bit of character which works great in a low-poly environment.
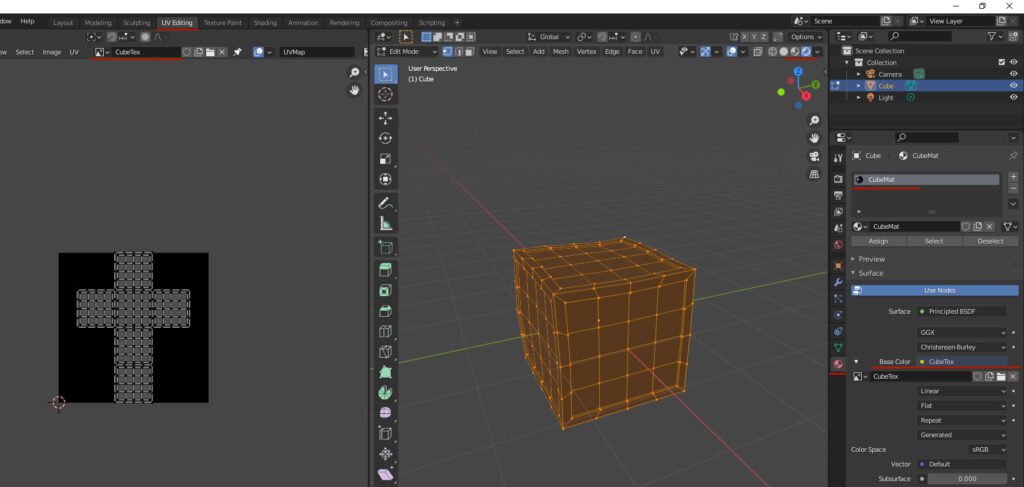
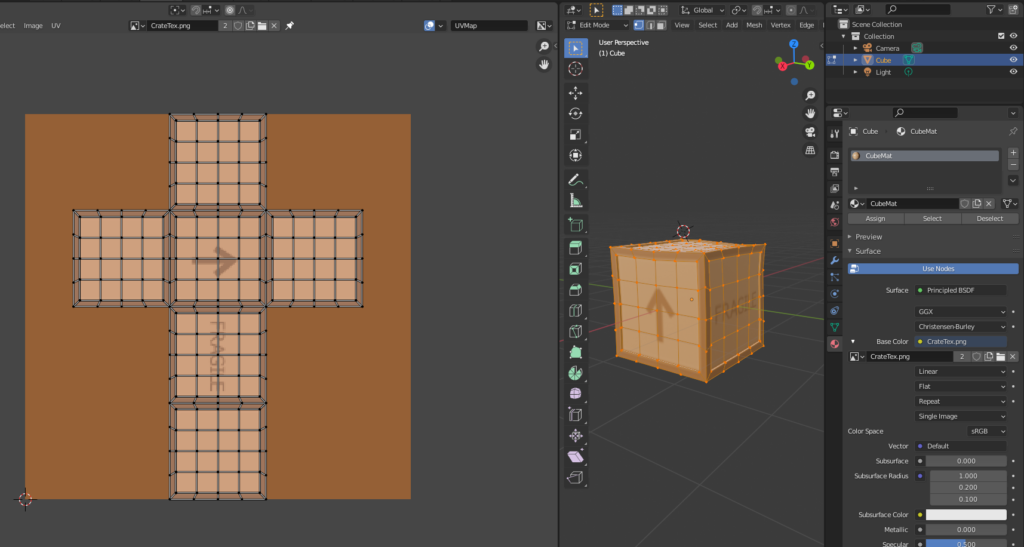
Open up the UV-Editing screen and add a new image with a size of 256×256. Save that image to a file called ‘CrateTex.png’. Select the entire mesh and export the UV-Layout to different file. Create and name a material. Assign it to your crate. Link the base color of the material as a image texture to the newly created image. If you switch the shading mode of your viewport to material preview, your box should appear all black – just like the created texture.
Step 2 – Use Krita To Make a Texture
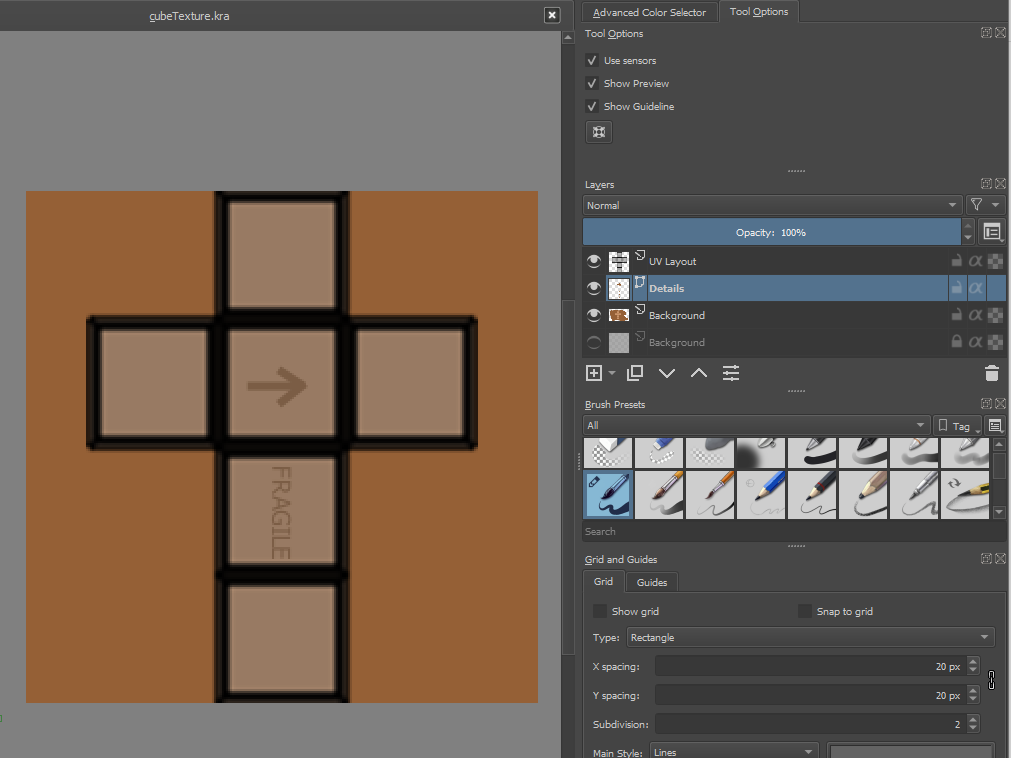
Import the UV-Layout into Krita with a canvas size of 256×256. Create a new layer beneath the UV-Layout and fill the background with a darker brown. Select the square areas in the center and paint them in a lighter tone. Feel free to add some details like a text saying ‘FRAGILE’ or paint an arrow pointing up.
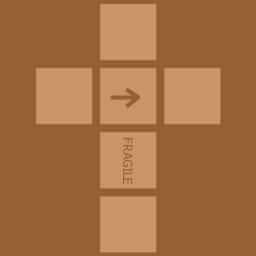
The Texture 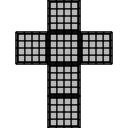
The UV-Layout
Step 3 – Create a Destruction Effect In Unreal Editor
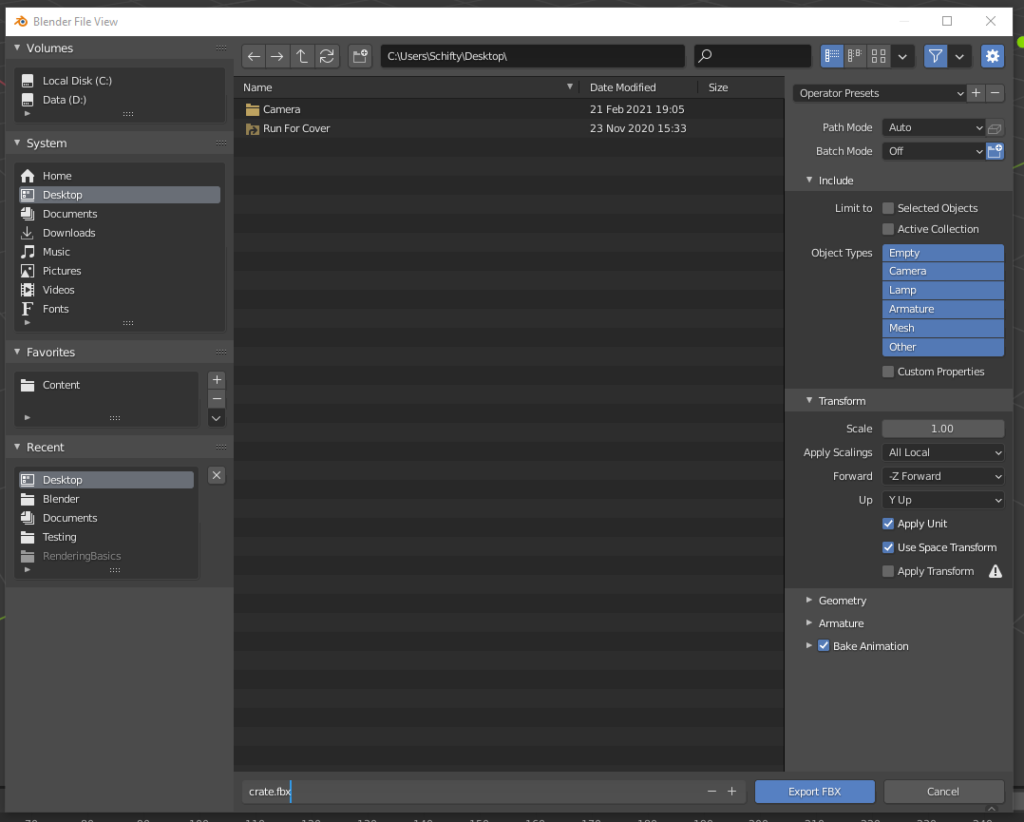
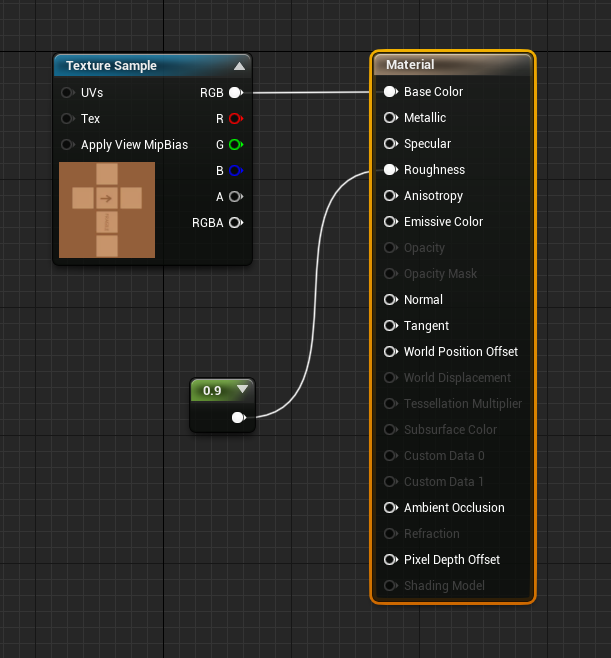
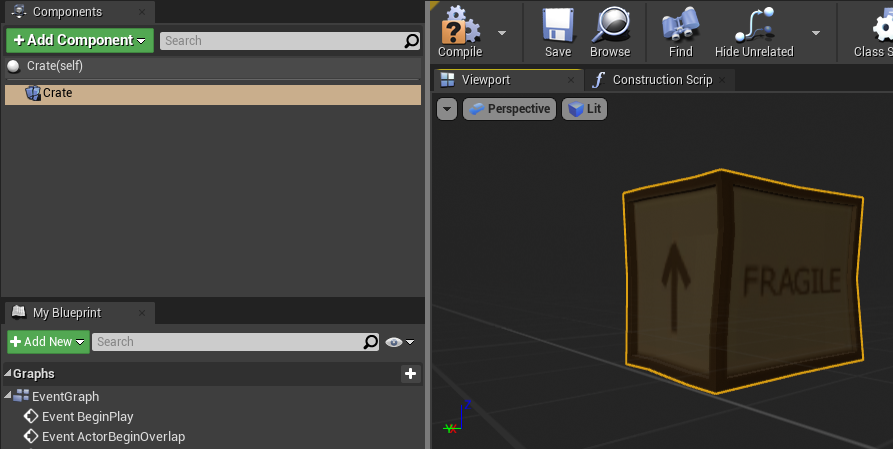
Create a new First-Person blueprint project in Unreal Editor. Import the created FBX and the texture by simply dragging the corresponding icons into the editor.
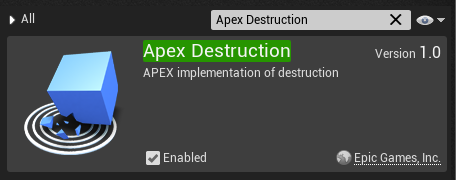
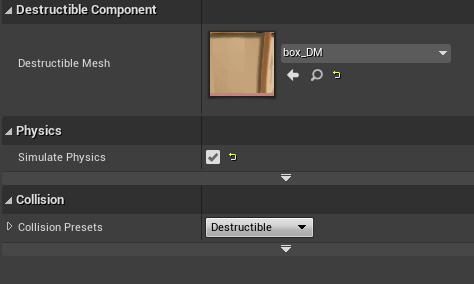
Click on the imported static mesh and click on ‘Create Destructible Mesh’.
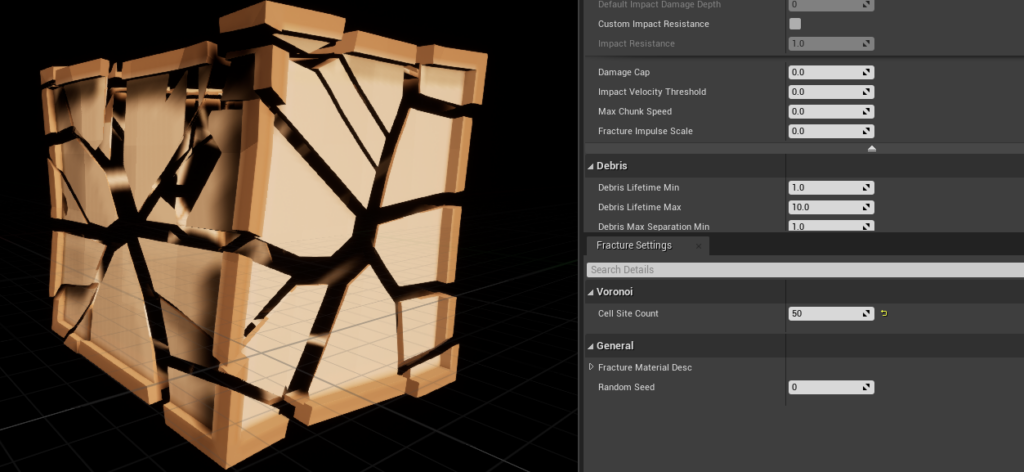
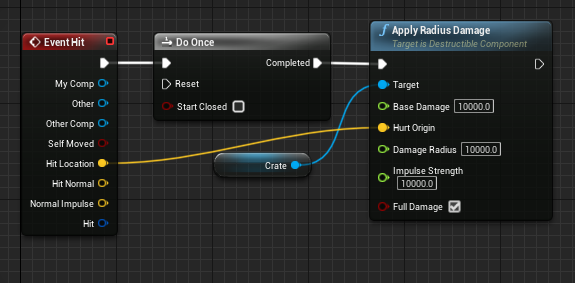
Place the box in the level by dragging the actor into the viewport. Shoot at it.
Step 4 – Make It More Interesting
- position crates in different sizes and rotations around the level
- add particle and sound effects when a crates are destroyed
- create explosive barrels that are capable of destroying surrounding crates
- improve your skills in Blender to create complex objects
- learn about basic rendering techniques to implement interesting features
Hope that helps.